Shut off the gas, pull the grates, heat plates and burners, scrape the firebox from top to bottom, clean the burner ports and venturi tubes, empty and scrape the grease tray, then reassemble and test-fire for a blue flame. Plan on 2 to 4 hours for a built-in grill the first time, and do it once or twice a year depending on how much you cook.
Key points
- Work top to bottom so debris falls into the grease tray, not onto clean parts.
- Use plastic scrapers and nylon or brass brushes on stainless; never steel wool or oven cleaner on the outside.
- Clean burner ports by brushing across them and clear venturi tubes of spider webs.
- Grease buildup under the burners is the number one cause of grease fires techs see.
- Test for a steady blue flame and check for leaks with soapy water before you cook again.
A real deep clean is not the same as burning the grill on high for ten minutes and brushing the grates. That handles the food side. The grease that causes flare-ups, rust and grease fires lives below the grates: on the heat plates, the burners, the firebox walls and the grease tray. This is the same order of work our techs follow on a service call, adapted for a homeowner with basic tools.
What you need
- Plastic putty knife or grill scraper (a metal one is fine inside the firebox, not on exterior stainless)
- Nylon scrub pads and a nylon or brass bristle brush
- A dedicated burner brush and a flexible venturi brush (a long pipe cleaner works)
- Dish soap or a degreaser that is labeled safe for grills, and a bucket of hot water
- Shop vac, rubber gloves, safety glasses and a few old towels
- Aluminum foil pan or trash bags for the grease
- A spray bottle of soapy water for the leak check at the end
Skip oven cleaner on anything you can see from the outside. It can stain stainless steel and strip porcelain. Skip steel wool on stainless entirely; it leaves iron particles that rust. Our stainless steel cleaning guide covers the exterior in detail.
Need the part? Pro Grill can find it
Send us your brand, model and the part you need. We source OEM parts, including ones that aren't listed in our online store.
Ask Pro Grill for a partWant a pro to handle it?
Most companies in our network are dealers or have dealer accounts, so they can usually bring the right part and install it in one visit.
Step-by-step deep clean
- Shut off the gas at the tank valve or the shutoff valve for a natural gas line, and let the grill cool completely. Disconnect a propane tank and move it away.
- Take a few photos before you pull anything. Built-in grills from brands like Lynx and Fire Magic have burners that only seat one way, and the photos save you a headache at reassembly.
- Remove the grates, warming rack, and the heat plates, flame tamers or briquette trays. Set them on a tarp or soak them in a tub of hot soapy water.
- Lift out the burners. Most slide back off the valve orifices once you remove a cotter pin, screw or bracket at the back. Do not force them or bend the electrode wires. Leave the valves and gas manifold alone.
- Scrape the firebox from the top down: the hood interior first, then the side walls, then the floor. Push everything toward the grease tray opening. Flaky black sheets on the hood are carbonized grease and smoke, not peeling paint, and they scrape off easily.
- Vacuum the loose debris with a shop vac.
- Clean the burners. Brush across the ports, not along the tube, so you push debris out instead of packing it in. Clear any blocked port with a paperclip or a small drill bit turned by hand. Run the venturi brush through the open end of each burner where it slides onto the valve. Spiders and mud wasps love these tubes, and a web in there causes yellow flames and can cause flashback at the knob.
- Scrub the heat plates or briquette trays. Ceramic briquettes and radiants that are cracked or crumbling should be replaced, not cleaned.
- Pull the grease tray and drip pan. Scrape them out, wash them, and wipe out the cavity they slide into. Grease tends to run along the bottom of the firebox and collect in the back corners.
- Clean the grates by material (cast iron, porcelain and stainless all need something different; see how to clean grill grates by material).
- Reassemble in reverse order using your photos. Make sure each burner's venturi is fully seated over its valve orifice. A burner that is off the orifice is a fire hazard.
- Turn the gas back on, brush soapy water on the hose and fittings you can reach, and look for growing bubbles. No bubbles, light the grill and check the flames.
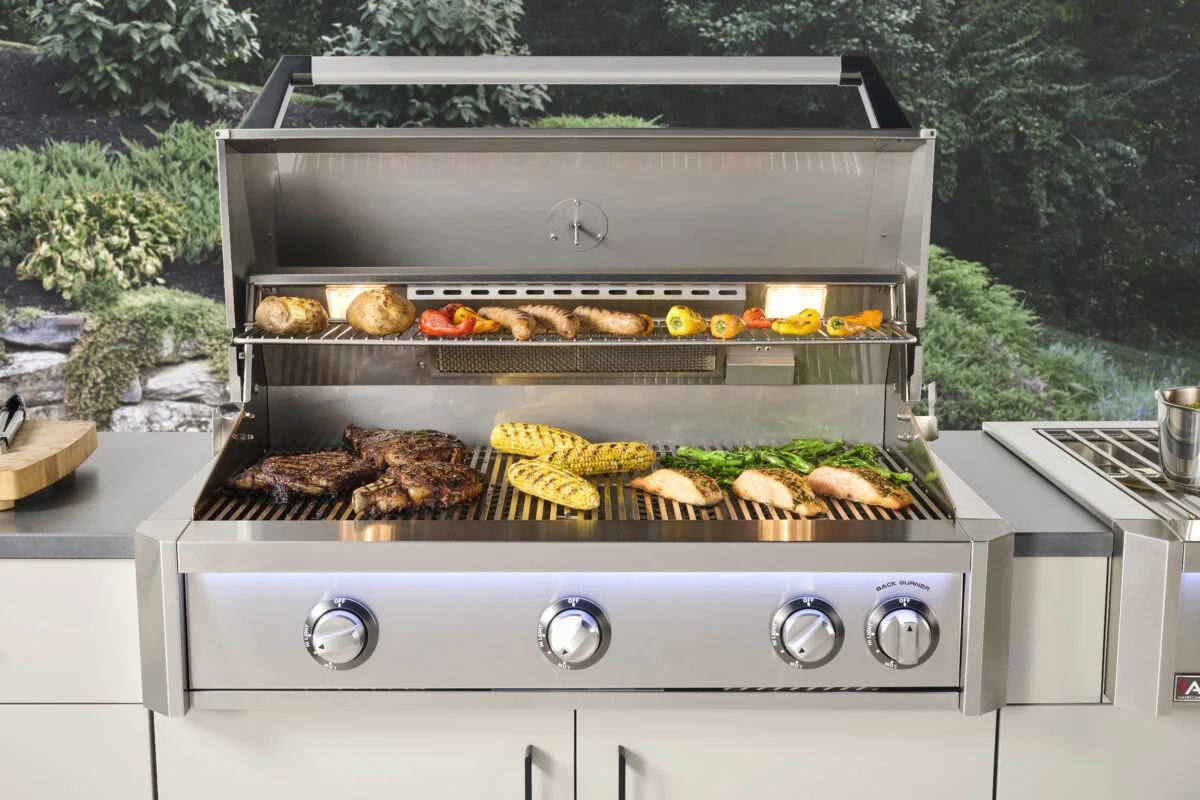
What a good flame looks like after cleaning
You want steady blue flames with small yellow tips at most, about the same height along the whole burner. Large lazy yellow flames, a roaring sound or flames that lift off the ports mean something is still wrong: a partly blocked venturi, an air shutter out of adjustment or a burner not seated. Our yellow flame troubleshooting guide walks through those. If one burner will not light at all after cleaning, check that the electrode wire was not knocked loose; igniter troubleshooting covers that.
Parts you may find worn out
A deep clean is the best time to spot parts at end of life. Techs see these most often:
- Burners with ports rusted together or split seams. Cleaning will not save those. See what a replacement burner costs.
- Heat plates rusted through or sagging in the middle. Check heat plate and briquette tray prices.
- Cracked ceramic electrodes or corroded igniter wires.
- Grates with chipped porcelain or burned-through bars.
Before you order anything, write down the model and serial number from the rating plate. On most built-in grills it is on the underside of the drip tray, inside the grill cart door, or on the back of the control panel. Our guide to finding your grill model number shows where each brand hides it. If the part is hard to find, ask Pro Grill to track down the part; they source parts that are not listed in their online store.
Common mistakes
- Pressure washing the inside of the grill. It drives water into the valves, igniter module and burner ports and blasts the protective film off stainless. A garden hose on low is the most water a grill should see.
- Lining the grease tray or the firebox floor with foil that blocks drain holes. Grease pools and catches fire.
- Using wire brushes with loose bristles on the grates. A 2016 study counted about 1,700 emergency room visits from swallowed bristles over 13 years.
- Putting the burners back crossed or not seated on the valves.
- Spraying degreaser on hot surfaces or into the control panel.
When to hire a pro instead
DIY is reasonable for most freestanding grills. On a large built-in with rotisserie, infrared burners, lights and a sear zone, the job takes most of a day and has more ways to go wrong. A professional cleaning also includes a check of the valves, regulator and gas connections, which you should not take apart yourself. If you smell gas strongly at any point, shut off the supply, do not light anything or use switches near the grill, and call your gas utility or 911 from a safe distance.
Most companies in our network are dealers or hold dealer accounts, so if they find a bad burner or igniter during the cleaning they can usually bring the right part and install it the same visit. Compare typical prices in our BBQ cleaning cost guide, or find a grill cleaning company near you. For questions about how often to repeat all this, see how often to clean a grill.
Frequently asked questions
How long does it take to deep clean a gas grill?
Plan on 1 to 2 hours for a basic freestanding grill and 2 to 4 hours for a large built-in the first time. Once you know how the parts come out, it goes faster.
Can I use oven cleaner on my grill?
Only on heavy carbon inside the firebox or on bare cast iron grates, and rinse it well. Keep it off exterior stainless, painted surfaces, porcelain and anything aluminum.
Should I clean the inside of the burner tubes?
Yes. Run a flexible venturi brush through the open end of each burner. Spider webs and insect nests in the tubes are a common cause of yellow flames and flashback.
Is it safe to pressure wash a gas grill?
Not the inside. High pressure forces water into the valves, igniter and burner ports and can strip the passive layer from stainless. Use a hose on low and towels instead.
Do I need to replace my burners if they look rusty?
Surface rust is normal. Replace a burner if it has holes rusted through, split seams, or ports that will not open up after cleaning.