
Get Your Outdoor Kitchen Ready for Fall and Holiday Cooking
Cooler weather puts you at the island more often. Here is what to check first, what you can do yourself, and what to hand to a pro before guests show up.

Short answer: before the first big fall cookout, check the burners, igniters, gas hoses and regulator connections, island lighting, and how clean the grill and side burner are. Fix what is simple yourself. Leave gas leak checks and worn part replacement to a pro, and book that now.
Forbes ran a story on November 8, 2026 called Fall Outdoor Entertaining Trends: Blending Indoor And Outdoor Spaces. The headline matches what we see on service calls. When the weather cools, the outdoor kitchen gets used more like an indoor one. That is the reason to check it before you are standing there with a full table of guests.
Start with a safety check before you light anything
If you smell gas at any point, turn off the gas at the tank or the shutoff valve, leave the lid open, keep flames and sparks away, and call a pro. Do not keep trying to light it.
Look at the whole setup before you cook on it. A grill that sat through a summer of heat, sprinklers and rodents can look fine from the front and have problems underneath.
Burners: look at the flame and the ports
Burners are the first thing to check, because everything else depends on them. Remove the grates and any heat plates, then look at each burner with the lid open.
- Port holes. They should be open and even. Clogged ports cause weak, uneven flames and hot and cold spots.
- Surface condition. Look for rust-through, cracks, or burner metal that looks flaking or thin.
- Flame. Light each burner one at a time. You want mostly blue flames that run evenly down the burner. Lazy yellow flames, or flames that only come out of part of the burner, point to blockage or a gas supply problem.
- Insect nests. Spiders and other insects like to build in the burner tubes. A nest there can make flames burn low or out of the wrong place.
If a burner will not stay lit or heats unevenly, our guides on why a grill won't light and the other articles in the same series walk through the likely causes.
Igniters: click, spark, flame
Igniters are one of the most common failures we see, along with briquette trays. Test each one. Turn the knob or press the button and watch and listen for a spark at the burner or electrode.
- No click at all usually means a dead battery in an electronic igniter or a failed module. Change the battery first.
- A click with no spark can mean a dirty or corroded electrode, a loose wire, or a failed igniter.
- A weak spark that lights the burner late gives gas time to build up. Do not ignore it.
Grease and carbon on the electrode are common causes and are easy to clean. A cracked ceramic electrode or burnt wire needs replacing. On some grills, igniters can run as much as $60 each, and a grill with several igniters adds up. You can find your model's igniter on our parts diagrams and order it from the Pro Grill parts store.
Hoses and regulator connections
These carry the gas, so check them slowly.
- Turn the gas off.
- Look along the full length of the flex hose from the shutoff to the grill. You are looking for cracks, brittle spots, cuts, kinks, burn marks, and any sign something chewed on it.
- On propane, check the regulator and the connection to the tank. Look for corrosion, a damaged fitting, or a regulator that looks cooked or bent.
- Check that the hose is not touching hot surfaces, and that nothing in the island cabinet is pressing on it.
A quick bubble test helps find a slow leak. Mix dish soap and water, brush it on each connection, then turn the gas on with the burner knobs off. Growing bubbles mean gas is escaping. Turn the gas off and stop using the grill until a pro has fixed it.
A bubble test only covers the connections you can reach. It does not replace a full pressure and leak check of the gas line, which is why we put that on the pro list below. If the grill has a full tank but weak gas flow, this guide covers what to check.
Lighting in the outdoor kitchen
It gets dark early now, and cooking by phone flashlight is how food gets overcooked and people get burned.
- Turn on every light you have: grill lights, island lights, overhead or string lights, and path lights.
- Replace burned-out bulbs and look for cracked lenses or water inside fixtures.
- If a circuit is dead, press reset on the GFCI outlet before you assume wiring is the problem.
- Check that the grill's own light, if it has one, works with the lid open and closed.
Anything beyond bulbs and a GFCI reset is electrician work. Do not open up wiring in a wet outdoor cabinet.
Clean the grill and side burner
A grill with a summer's buildup is a flare-up and bad-smell risk, especially with holiday-size cooks. Clean what you can reach:
- Scrub the grates, then empty and clean the grease tray and drip pan.
- Scrape loose carbon from the lid and the fire box walls.
- Clear the side burner and its grate, and check that the burner ports and igniter are free of boil-over residue.
- Wipe the control panel and knobs.
Our end-of-summer cleaning guide has the full routine. If the grill is heavily built up or has sat a long time, a professional cleaning takes about 2 to 4 hours at your home. It covers the fire box and burners, the grates, briquette trays and heat-distribution parts, and warming racks where applicable.
One caution: a cleaning removes grease and carbon. It does not repair a cracked burner, a dead igniter, or a rotted briquette tray. If something needs a part, the cleaning will not fix it.
Jobs for a pro before guests arrive
Some work is not worth doing yourself, mostly because a mistake here has consequences.
- Gas leak check. Especially if the grill has been moved, has had a hose or regulator replaced, or has any smell of gas.
- Replacing burners. They need to be seated and aligned properly on the valve and igniter.
- Replacing worn briquette trays, flavorizer bars or heat plates. These are among the most common failures we see.
- Hoses and regulators that look cracked, corroded, or chewed.
- Igniter systems that click but do not spark, or that fail on multiple burners.
If you are not sure what is wrong, a Pro Grill inspection and diagnostic visit is $199, and we credit 50% of it back if you do any needed work with us. If you are outside our Southern California and Arizona service area, find an insured grill pro near you.
What parts cost, and what changes the price
These are the figures we see on higher-end grills, not quotes. Your price depends on brand, model, and how hard the part is to get to.
| Item | What we typically see |
|---|---|
| Lynx burner | Often over $500 |
| Lynx ProSear burner | Often over $700 |
| Igniter | As much as $60 each |
| Labor to install parts | $200 to $500, depending on how complex the parts are to install |
We sell Lynx parts, though not Lynx grills. Many Lynx owners love their grills and want to fix them up and keep cooking on them, and that is often a good call. We also sell and service Fire Magic grills, which are high end and made in the USA. For the longer comparison, read Fire Magic vs. Lynx: cost to buy, own and repair.
When to repair and when to replace
On a high-end grill, we usually recommend replacing parts as long as the fire box is in good shape. A good fire box under a worn burner or tray is worth saving. If the fire box itself is rusted through or warped, replacing parts stops making sense. For a closer look, see our neglected grill triage.
A simple order for the next two weeks
- This week: look over burners, igniters, hoses and regulator, and test the lights.
- Order any needed parts now. Some may need to be ordered in, so do not wait until the week everyone is coming over
- Book a pro for the gas leak check and any part installs.
- Clean the grill and side burner a few days before the cook.
- Do a test light on every burner the day before guests arrive.
FAQ
What should I check on my outdoor kitchen before the holidays?
Check the burners, igniters, gas hoses and regulator connections, island lighting, and how clean the grill and side burner are. Have a pro handle gas leak checks and worn part replacement.
How do I know if my grill has a gas leak?
Brush soapy water on each gas connection with the burner knobs off and the gas on. Growing bubbles mean a leak. If you smell gas, turn it off, keep flames away, and call a pro.
How much does it cost to replace a grill igniter?
On some grills, an igniter can run as much as $60 each, plus installation if you do not do it yourself. Price depends on brand, model and how many igniters your grill has.
How long does a professional grill cleaning take?
A deep clean generally takes between 2 and 4 hours at your home. It removes grease and carbon but will not fix parts that are cracked, rusted or failed.
Does Pro Grill sell Lynx parts?
Yes, we sell Lynx parts, though we do not sell Lynx grills. You can look up your model on our parts diagrams and order from the parts store.
More seasonal
See all →
Power Out? Never Heat Your Home With a Grill or Fire Pit
A grill, fire pit or patio heater is built for open air. Used inside, or under a roof, it can fill a home with carbon monoxide. Here is what to do in…
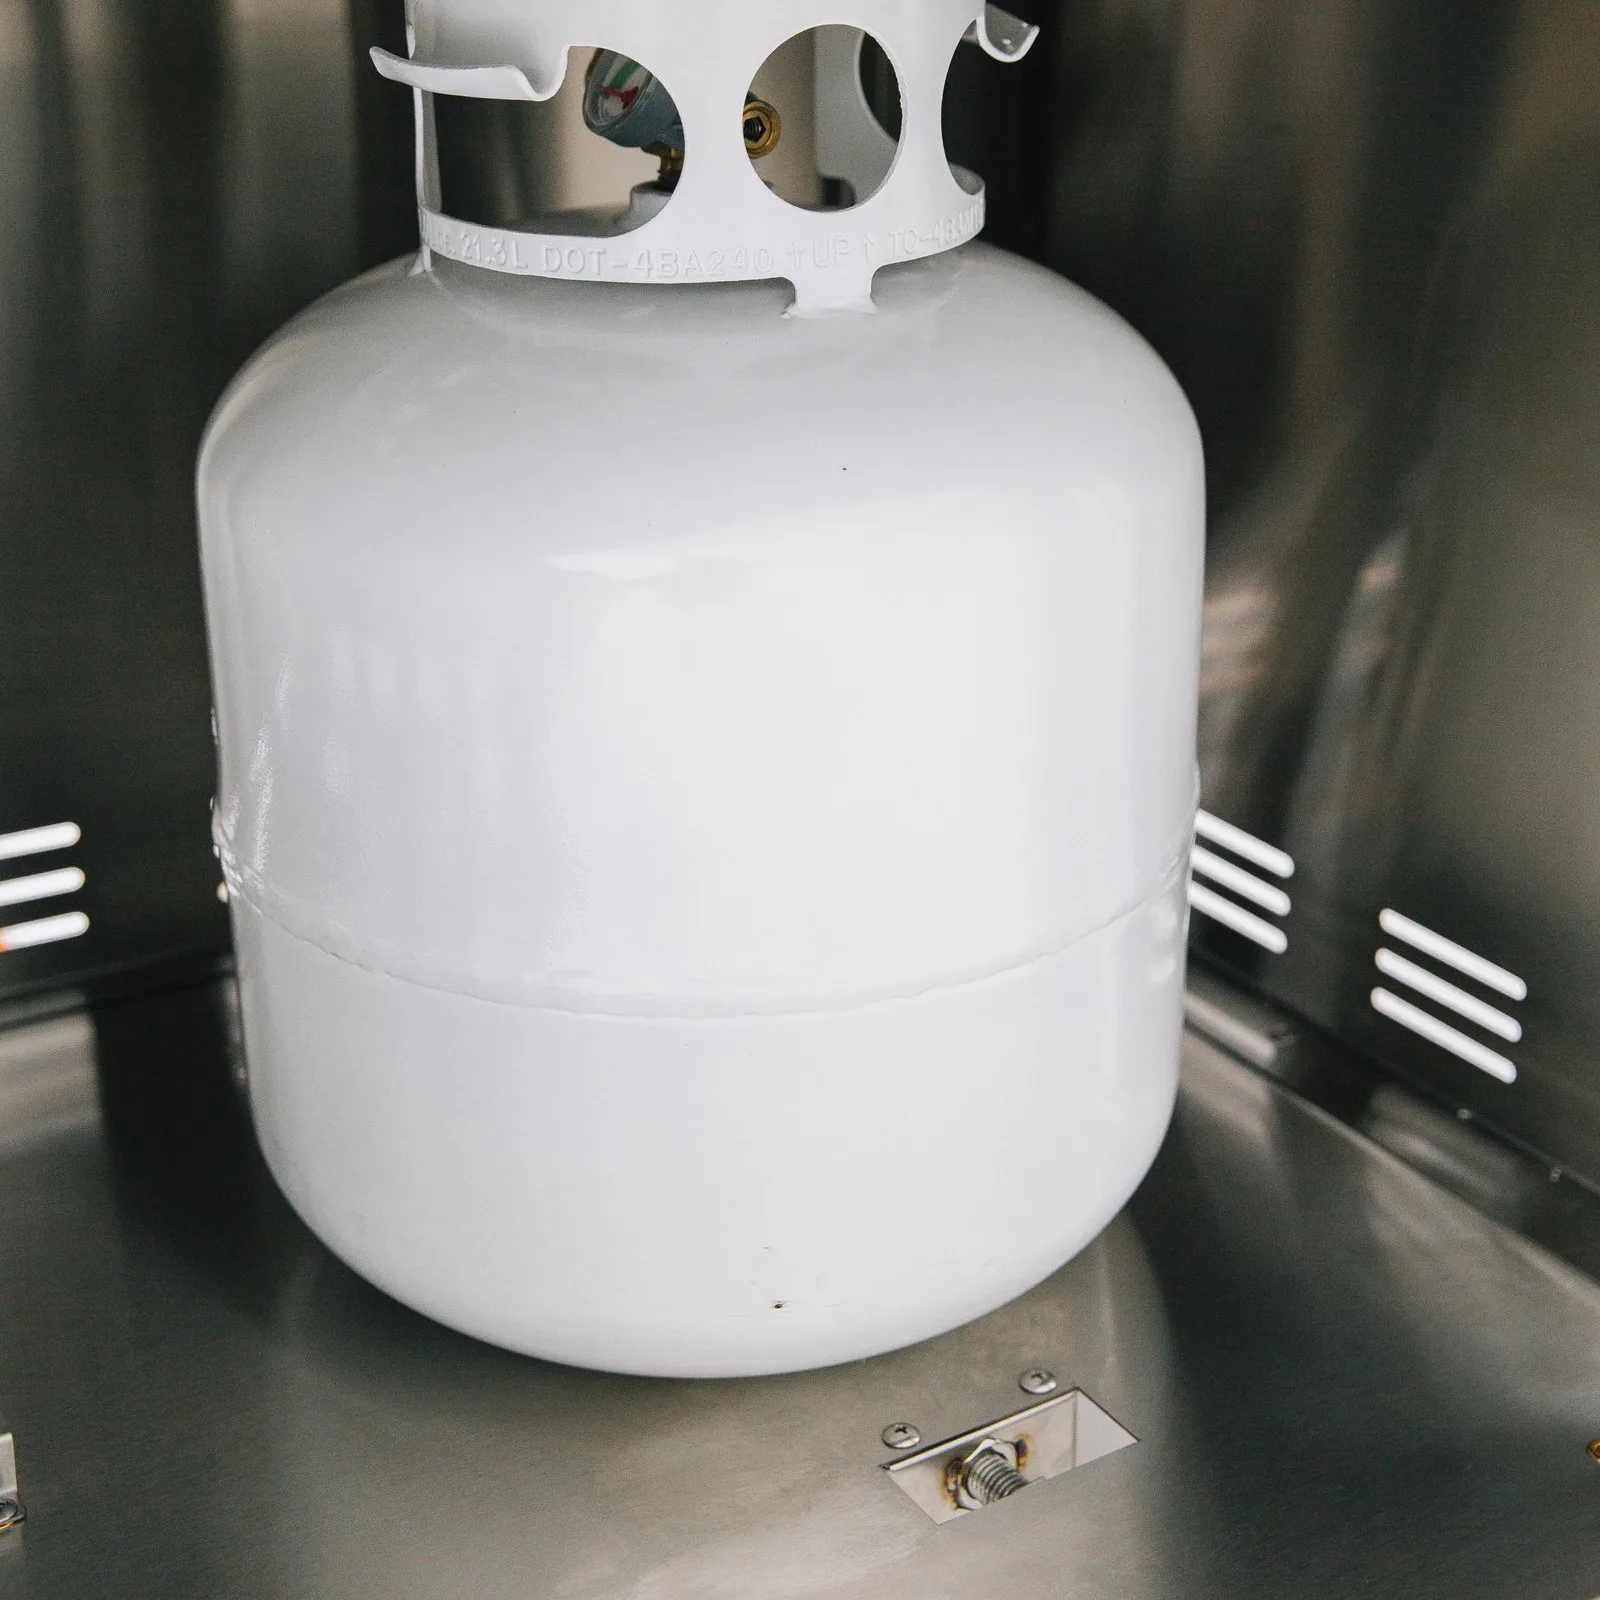
Store a Propane Tank Full or Empty for Winter? A Tech Answers
The question most people ask is full or empty. The question that matters more is where the tank sits and what shape it's in before you put the cover …

End-of-Summer Grill Cleaning: Get Your BBQ Ready for Cooler Weather
What to clean on your grill before cooler weather, how to get rid of summer grease and carbon buildup, and when it makes sense to have a pro handle i…